The answer to a world turned upside down — Upside Down Cakes
First popularized in the 60s and 70s its high time for a resurgence of upside down cakes
Busy people need to eat
The answer to a world turned upside down — Upside Down Cakes
First popularized in the 60s and 70s its high time for a resurgence of upside down cakes

Rhubarb and Pineapple Upside Down Cakes
In my life, upside down cakes were infrequent in the 80s and almost non existent by the 90s.
The first upside down cake that I remember some 30 years ago was an attempt by my older sister to bake a pineapple upside down cake. Somehow the ‘failed’ cake had the consistency of a flan or pudding. Albeit dense and a soggy mess, I remembered whole hardheartedly enjoying it.
It wasn’t until isolation during the pandemic that I pulled out some old recipes and decided to experiment. I was surprised to find an abundance of online recipes as well.
There is a nice feeling to the mystery of how the cake will look once it’s flipped upside down and turned out. The cake also naturally appeals to those like me who are decoration-challenged. These cakes require zero work to look presentable.
Below I give you my 3 favorite recipes each of which takes minutes to prepare in addition to a 30 minute bake time.
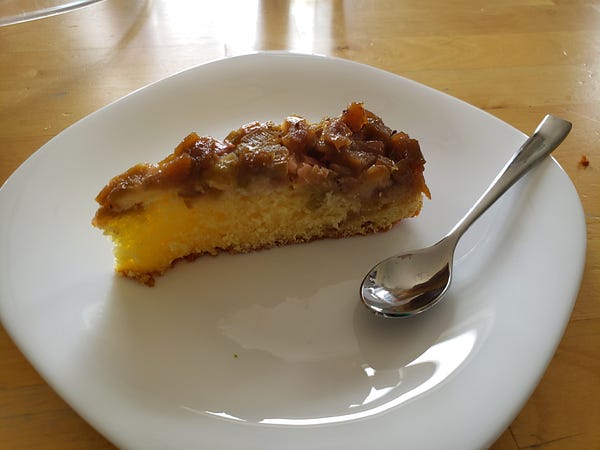
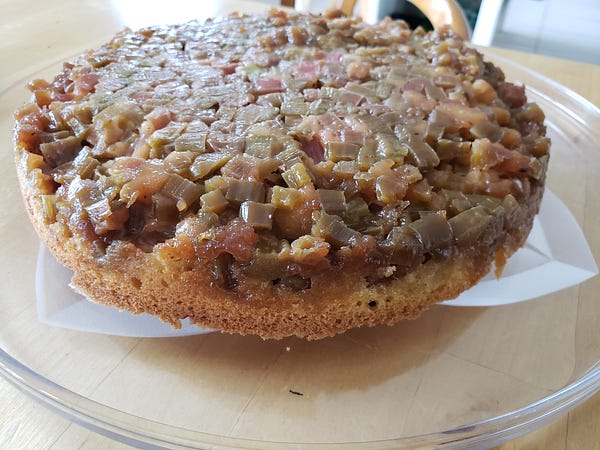
Rhubarb Upside Down Cake
My first attempt was with rhubarb, abundantly available in the spring in Ontario. I had never baked with rhubarb before and then always mixed with another fruit. My first attempt resulted in a mild flavored caramelized topping. Add a good dusting of cinnamon between the fruit and cake layer. The recipe I recommend following is from Taste of Home. Its easy to follow, relatively moderate on sugar, and does not call for too many ingredients.
The success of the rhubarb upside down cake emboldened me to attempt pineapple.
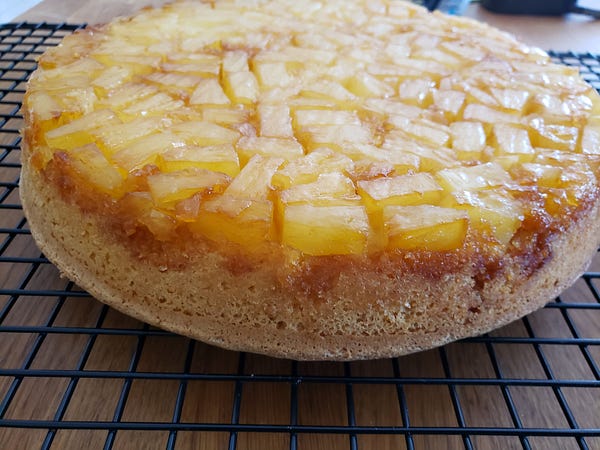
Pineapple Upside Down Cake
The recipe I used here was from an old book published in the 1980s. As I was using canned pineapple I reduced the sugar** to the amount I use in my Tarte Tatin (upside down apple pie) recipe.
- 1 can of drained pineapple
- 100 g brown sugar**
- 100 g butter
- 4 eggs separated
- 125 g flour
- 1 tsp baking powder
- 150 g sugar
Use parchment paper to line the bottom of your baking pan. Spread a light paste of butter and sugar on the bottom of the pan in question. Layer the drained pineapple pieces on top. Mix up a sponge cake [heavily beaten egg whites to which all other ingredients are added] and pour it on top. Bake on moderate heat (180 deg C) for about half an hour.
When you take the cake out of the oven, flip upside down onto a cooling rack and wait a couple of minutes before taking off the pan. Steam from the fruit and heat should help detach the layer from the pan. The parchment peels right off.
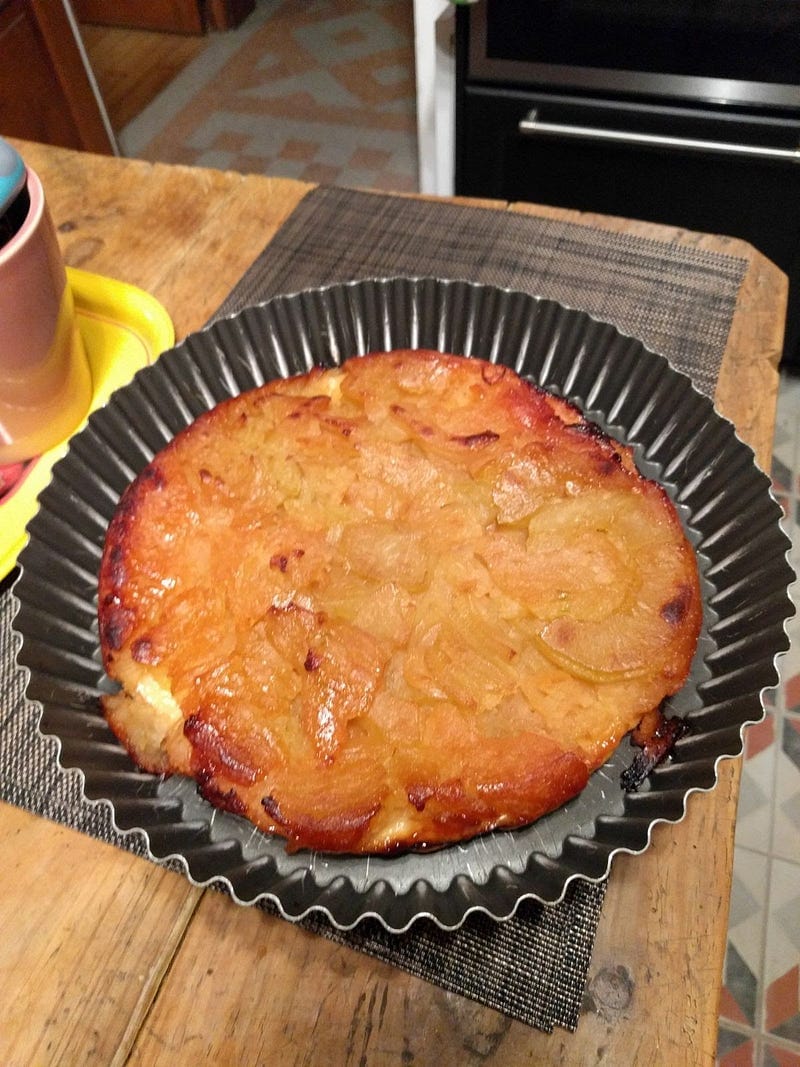
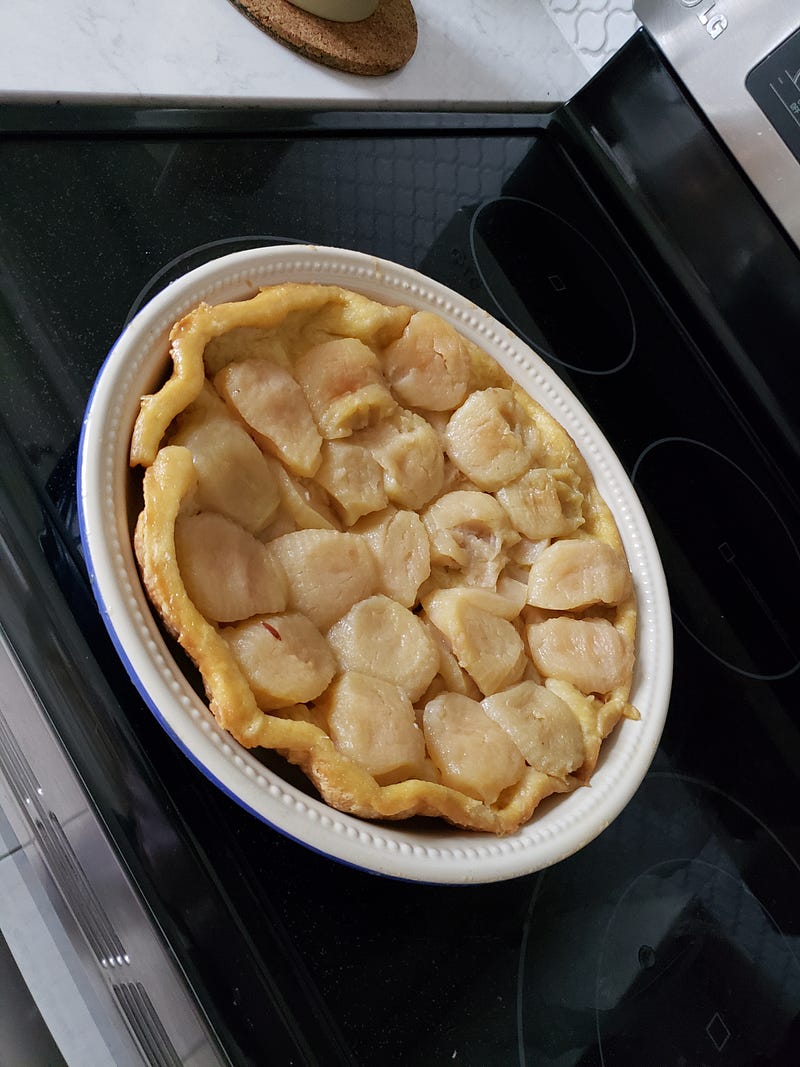
Tarte Tatin (Upside Down Apple Pie)
When we think of apple pie we think of using green apples that disintegrate with heat e.g. Granny Smith or MacIntosh. However, for Tarte Tatin it’s the apples that hold their form that give the best final result e.g. Red Delicious.
I also discovered I am way too cautious with the heat! You have to be patient to get a good caramelized burn.
What you need to start:
- 100 g butter
- 100 g sugar
- Pre-prepared apple quarters to fill a pan
- Pastry layer
- A hot oven (optional stove top for early steps if using a skillet)
Using a hot oven, melt butter in your dish of choice. This step can alternatively be done on the stove with an iron skillet but you will need a hot oven for the final bake.
Sprinkle on the sugar and put back on or in the heat to dissolve.
Break out your design skills to layer the apples in a geometric or pretty pattern and return to the heat.
When the apples look like they are nicely caramelized — and this is not an exact science as I’ve failed as often as succeeded — take out the pan once again to apply your pastry shell. Tuck in the edges of the pastry. Use a fork to make some holes for steam to escape.
Return to the oven and bake until the pastry is golden and crisp.
When ‘done’ take out of the oven and cover with your serving dish for a few minutes. Flip upside down and let it sit for a two more minutes.
When you are ready — remove the baking dish/pan. Voila! Did it work?!